Just a couple more Thank You chocolates today! …


See ya next time … ink, ink, smudge, smudge!
–Jessica Kerr, Independent Stampin’ Up! Demonstrator
Place your order today! Send me an email: stampdaydesigns@gmail.com

Just a couple more Thank You chocolates today! …
See ya next time … ink, ink, smudge, smudge!
–Jessica Kerr, Independent Stampin’ Up! Demonstrator
Place your order today! Send me an email: stampdaydesigns@gmail.com
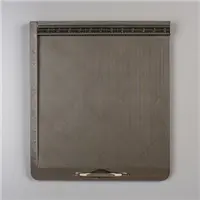
Quick post today! Who doesn’t love chocolate? I made these adorable boxes to hold a single Lindt “HELLO” chocolate bar. I plan to give these as Thank You gifts to my hostesses. The basic box was made using a single sheet of DSP and the Envelope Punch Board. The belly bands were made from the leftover scraps of the same DSPs, simply utilizing the opposing side!


See ya next time … ink, ink, smudge, smudge!
–Jessica Kerr, Independent Stampin’ Up! Demonstrator
Place your order today! Send me an email: stampdaydesigns@gmail.com
Oh my goodness! I almost forgot to share these fun little Hershey’s chocolate bunny treats that I made for my co-workers just before Easter …


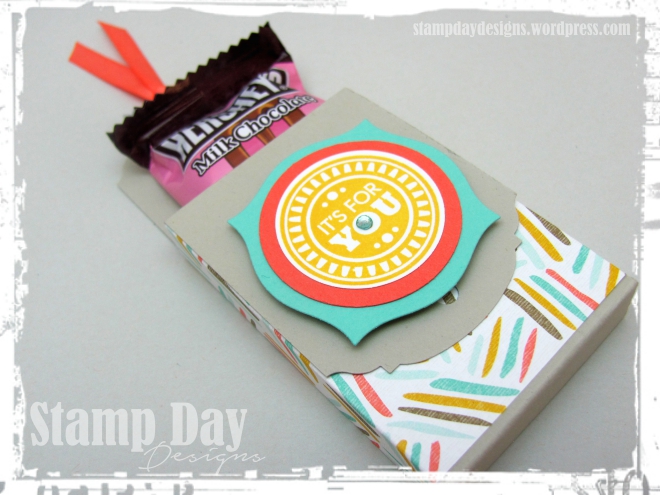
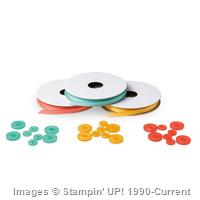
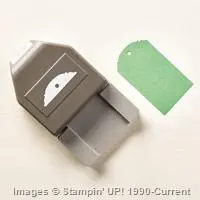
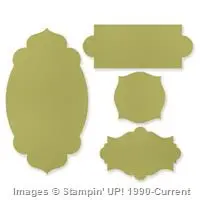
These were very simple to make! Just a 2″ x 11″ wide strip of Sahara Sand. I punched both ends with the Ornate Tag Topper punch, and then scored three times to get the width needed at the bottom, and the foldover piece at the front. I didn’t include those measurements, because they will vary depending upon the treat you are including and the amount of flap you want showing on the front. Then I wrapped a strip of DSP around the bottom, running under the flap and joining in the back, creating a boxed bottom. I finished it off with some coordinating ribbon, a die-cut from Apothecary Accents and a couple of circle punches. Enjoy!
See ya next time … ink, ink, smudge, smudge!
–Jessica Kerr, Independent Stampin’ Up! Demonstrator
Place your order today! Send me an email: stampdaydesigns@gmail.com
Built for Free Using: My Stampin Blog
Sorry for this super late/fast post … but OH MY WORD, how did I not think of this sooner?!!! My family is totally smitten with the character, Baymax, from the movie “Big Hero Six” right now. I have no idea exactly what led to my eureka moment, but I’m sure glad it happened … ta da!! How super cute is this little box (and unbelievably easy)?!

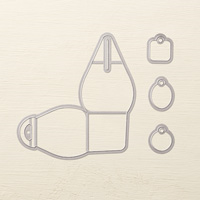
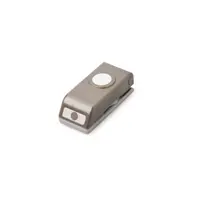
I die-cut the Curvy Keepsake Thinlit twice out of Whisper White and adhered the two pieces together so I could close it up and get a feel for the curvature of the box. Then I unlatched the box top (so everything would lay flat) and drew a straight line with a ruler where I felt the eyes should be positioned. I punched out two 1/2″ circles and glued them at the ends of that line with Multipurpose Adhesive. That’s really all there is to it!
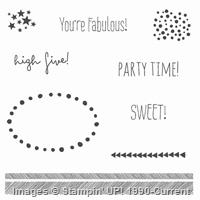
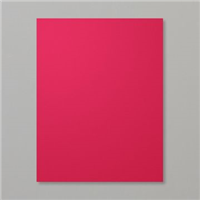
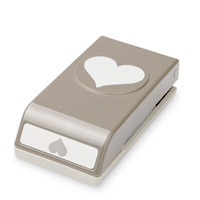
I did add an extra little tag, because I thought he needed just a bit of color, so I stamped the “Sweet!” sentiment in Versamark ink and heat embossed with White Stampin’ Emboss Powder onto a Real Red heart. I punched a hole in one side so it could be tied it onto the box handle with a piece of 1/8″ silver ribbon.
See ya next time … ink, ink, smudge, smudge!
–Jessica Kerr, Independent Stampin’ Up! Demonstrator
Place your order today! Send me an email: stampdaydesigns at gmail dot com
Built for Free Using: My Stampin Blog