
Here’s another one I made a while back. I saw this beautiful card on Pinterest by Tammy Hair, and I knew I could duplicate the look with supplies I had on hand. It’s really difficult to photograph, but there is a layer of vellum under the black panel, which gives it a little touch of softness. The flowers are clear heat embossed with an image from the World of Dreams set, and the sentiment came from last year’s Simply Sketched hostess set. With a couple of quick and easy changes (sentiment and/or color scheme), this card would work beautifully for just about any occasion!


Instructions:
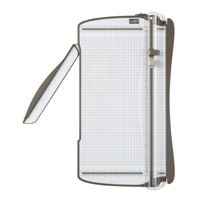
- Start with an 11″ x 4-1/4″ piece of Whisper White card stock. Score and fold at 5-1/2″ to create an A2 card base.
- Cut a 3-3/4″ x 5″ panel of vellum card stock, center and adhere to the card front (make sure you stay at least 1/4″ clear of the edges so the adhesive doesn’t show through!).
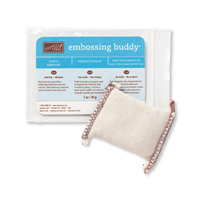
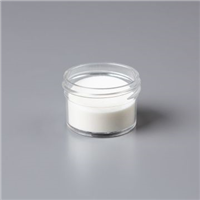
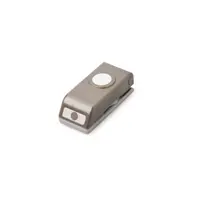
- Cut a small piece of Basic Black card stock to fit your chosen sentiment. Use the Embossing Buddy, and stamp your sentiment with Versamark ink. Heat emboss with clear Stampin’ Emboss powder and set with the heat tool. Use the 1/4″ or 1/2″ circle punch to create ticket corners (depending on the finished size of your sentiment panel).
- Cut a 3-1/4″ x 4-1/2″ panel of Basic Black card stock. Rub an embossing buddy over the front and stamp the flower with Versamark ink twice, rotating 180° and leaving space in the middle for your sentiment panel. Heat emboss with clear Stampin’ Emboss powder and the heat tool.
- Adhere the sentiment between the flower images, using Stampin’ Dimensionals. Then center and adhere the entire Basic Black panel to the vellum panel.
See ya next time … ink, ink, smudge, smudge!
–Jessica Kerr, Independent Stampin’ Up! Demonstrator
Place your order today! Send me an email: stampdaydesigns at gmail dot com


Built for Free Using: My Stampin Blog
