
Here in Michigan the temperature has dipped down into the upper 60s over the last few days, and gosh darn it … it’s got me thinking of fall. Don’t get me wrong, I love fall, but I definitely do NOT want to say goodbye to summer just yet. Thankfully, the weatherman says it should be in the upper 70s today, so there’s no need to panic!

So I guess while I’m still thinking about fall, I might as well share today’s card. This little project was actually the predecessor to yesterday’s post. It was created a couple of weeks ago, when I was inspired by all of the wonderful new Fall products to be released in the upcoming Holiday Catalog (available September 1st). I had just discovered a technique called Acrylic Block Stamping, and thought I might give it a try. I honestly didn’t think such a quick and simple technique could possibly give such fantastic results. I was stunned!
I didn’t share my card at the time, because I was reluctant to post a project constructed with retired product. BUT, yesterday’s post generated a LOT of attention, comments, and questions of “how’d she do that?” … and I really feel that the retired product is easily substituted (the substitution, not the retired product, will be included in the supplies list at the end of this post).
So without further ado, let’s take a look at the card in question … detailed instructions can be found below.


I don’t have pictures of the actual process (because I honestly thought I was the last person to discover this technique), but feel free to visit the Something About Stamping blog … which is where I first found the instructions myself.
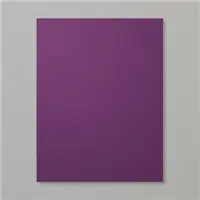
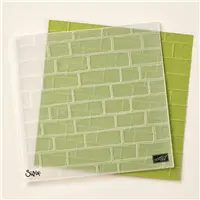
- Start with a tent-fold A2 card base of Blackberry Bliss, and emboss the front with the new Brick Wall Textured Impressions Embossing Folder.
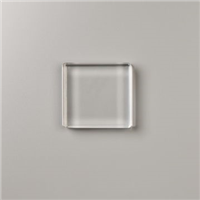
- Determine which size Clear Block will work best for your project (Size “D” was used in this example), and trim a piece of Whisper White card stock approximately 1″ larger in both height and width.
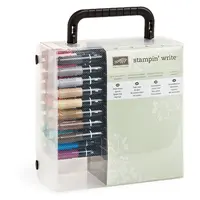
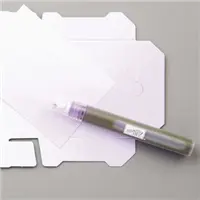
- Using a variety of Stampin’ Write markers, scribble directly onto your Clear Block. I don’t remember the exact combination here, but there were probably at least six different colors in this sample. Don’t spend too much time on this step, fussiness won’t improve results. Just remember if you want a clean straight edge, make sure your scribbles go right up to the edges of the block.
- Lightly mist the scribbled block with water from a Stampin’ Spritzer – I only needed about two full sprays from 6″-8″ above.
- Press the Acrylic Block directly into the center of your Whisper White panel. Be patient! It will only take a few extra seconds for the excess water to absorb into the paper, and you can actual see it happening through the block. Wait until the paper has “released” itself from the block before lifting it away.
- Trim the edges of the panel to frame your background, if desired/necessary. (I like to trim my panel to its final size after stamping to obtain a nice even white frame around the background.)
- Allow the panel to dry completely (either naturally, or speed up drying time with a Heat Tool) before stamping the World of Dreams image in Memento Tuxedo Black ink.
- Heat emboss the “Hello Fall” sentiment in Gold Stampin’ Emboss Powder. (Don’t forget to use an Embossing Buddy to avoid static!)
- Add a slightly larger layer of Gold Foil Sheet behind your stamped panel with Snail Adhesive.
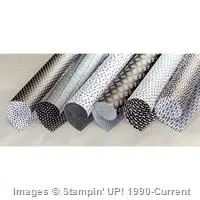
- Add another slightly larger layer of Everyday Chic DSP behind the Gold Foil layer … turning at a slight angle before adhering with Snail Adhesive.
- Pop up the entire piece onto the card front with Stampin’ Dimensionals.
I really hope you enjoy this technique as much as I have!
See ya next time … ink, ink, smudge, smudge!
–Jessica Kerr, Independent Stampin’ Up! Demonstrator
Place your order today! Send me an email: StampDayDesigns@gmail.com


Built for Free Using: My Stampin Blog
