
A quick and easy card today … this one made with my favorite Stampin’ Up! color, Blackberry Bliss!

 Your turn!:
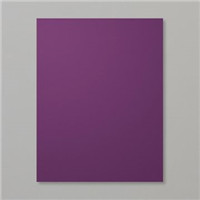
- Start with a 5-1/2″ x 8-1/2″ piece of Blackberry Bliss card stock. Score and fold at 4-1/4″ to create an A2 card base.
- Emboss the card front with the Lovely Lace Textured Impressions embossing folder.
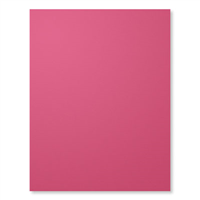
- Cut a strip of Rose Red card stock to 5-1/2″ x 1-1/2″.
- Cut three (3) 1-1/4″ squares of Painted Blooms DSP. Adhere the squares to the Rose Red strip, leaving a space for the sentiment (refer to pictures above).
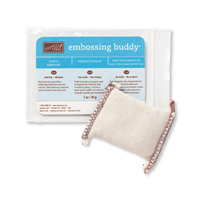
- Ink the sentiment in Versamark ink, and heat emboss with White Stampin’ Emboss powder. Don’t forget to use the embossing buddy before stamping to help reduce static!
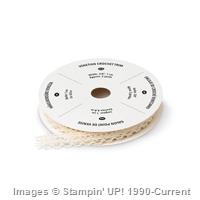
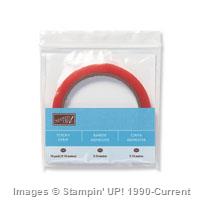
- Cut a 6″ long strip of Venetian Crochet trim. (I apologize for substituting on my card, I don’t have any in my stash at the moment!) Run a line of Sticky Strip along the bottom edge on the back of the Rose Red strip. Adhere the trim, being very careful to keep it straight. Trim the ends flush.
- Add the entire panel to the card front, giving it a little lift with Stampin’ Dimensionals.
- Embellish the dot on the “I” with a large Pearl Basic jewel embellishment.
See ya next time … ink, ink, smudge, smudge!
–Jessica Kerr, Independent Stampin’ Up! Demonstrator
Place your order today! Send me an email: stampdaydesigns at gmail dot com


Built for Free Using: My Stampin Blog
